

Pour a concrete slab in a weekend by following our instructions for DIY Concrete Patio.
A concrete patio is quick to set up, durable, and easy to clean and keep looking beautiful for years. Setting up and pouring a concrete patio can seem complicated. You may be scared to mess it up and have a misshapen patio in your backyard for years. But with the right preparation and following some simple instructions, you can pour your own concrete patio for you and your family to enjoy in just a weekend.
DIY Concrete Patio Tools + Materials
Tools
- Hammer
- Roller
- Float
- Plastic sheet or tarp
Materials
- Board
- Screen board
- Concrete
- Pegs
- Crushed stone
- Nails
DIY Concrete Patio Step One: Preparing The Site
Start by placing four stakes to mark the four corners of your patio.
Run a line of string around the four stakes and level to see how much the ground your building on slopes. You want to build your patio on even ground that drains well to avoid any cracking.
If you have sandy soil, just remove the topsoil to allow for three inches of gravel and four inches of concrete.
If you have harder soil (such as clay) then remove enough to allow for eight inches of compacted gravel and and four inches of concrete.
DIY Concrete Patio Step Two: Building The Frame
Follow the level string and pound your pegs into the ground. Make sure they are as secure as possible. Also, make sure the tops of all the pegs are level to each other.
Take your boards (we recommend 2×4’s or 2×6’s, cut to the size of each side of the frame) and nail them to the pegs on the inside (where you’re pouring the concrete) keeping the tops of the boards flush with the tops of the pegs.
You want your frame to be as secure as possible. Freshly poured concrete can push on the boards and bow your frame, leaving you with uneven edges that are almost impossible to fix.
So, it is best to place “kickers” behind the pegs. Kickers are pegs placed at a diagonal against your vertical pegs and nailed through your boards.
Before the next step, take a minute to double-check everything is level and ready to add gravel.
DIY Concrete Patio Step Three: Adding and Leveling Gravel
Again, depending on the type of soil you have, you’ll either need add 3 or 8 inches of gravel or crushed rock.
Take a roller or a vibrator compactor and compact and level out the gravel.
DIY Concrete Patio Step Four: Pouring Concrete
Unless your patio is going to be the size of your driveway, you can pour concrete you mix yourself. Buy your favorite brand and follow the instructions on how to mix.
Once you have your concrete mixed, start pouring in the frame over the leveled and flattened ground. As you pour, have a partner move it and begin to level with a rake. Pour in different spots as you go, since it will be too heavy to rake and move more than a couple of feet.
With the concrete poured, take a 2×4 board and begin level and smoothing out the concrete while your friend continues to rake as you go.
Don’t be tempted to pull too much concrete with each pull of the board. It is better to move and smooth a little at a time.
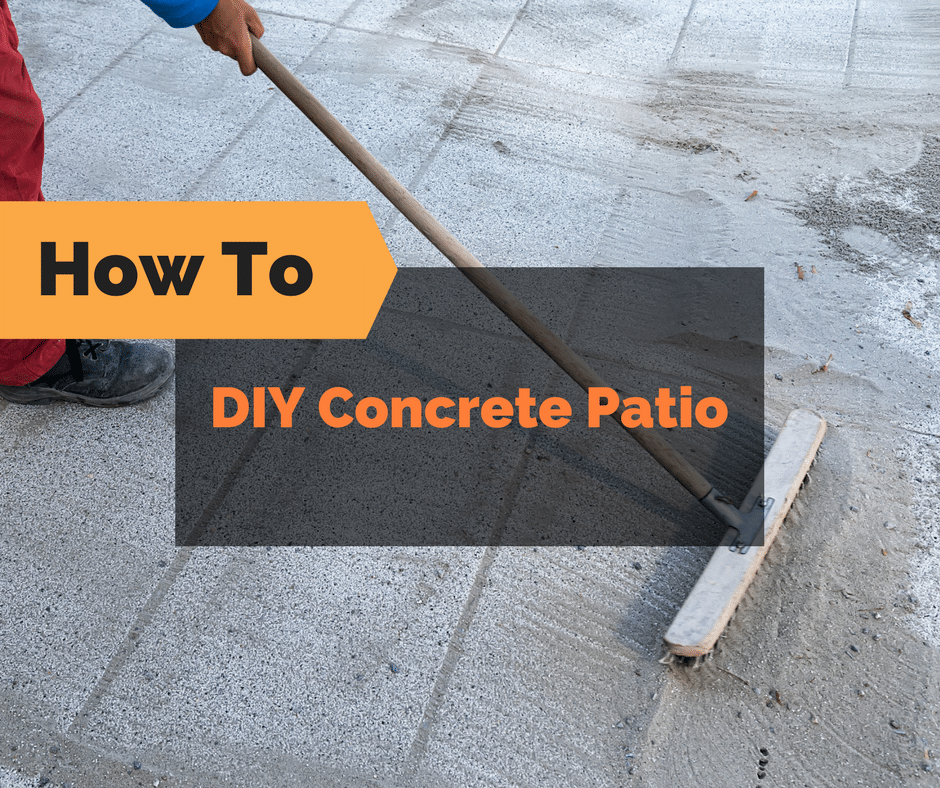
Finally, with a float, smooth away the lines made by the board until you have a level, smooth surface.
DIY Concrete Patio Step Five: Let it Dry
Pull a plastic sheet over the top of the concrete to protect against rain or falling debris and to avoid paw and handprints.
Once the concrete is dry, you can remove the plastic covering and the frame.
Lastly, enjoy!