

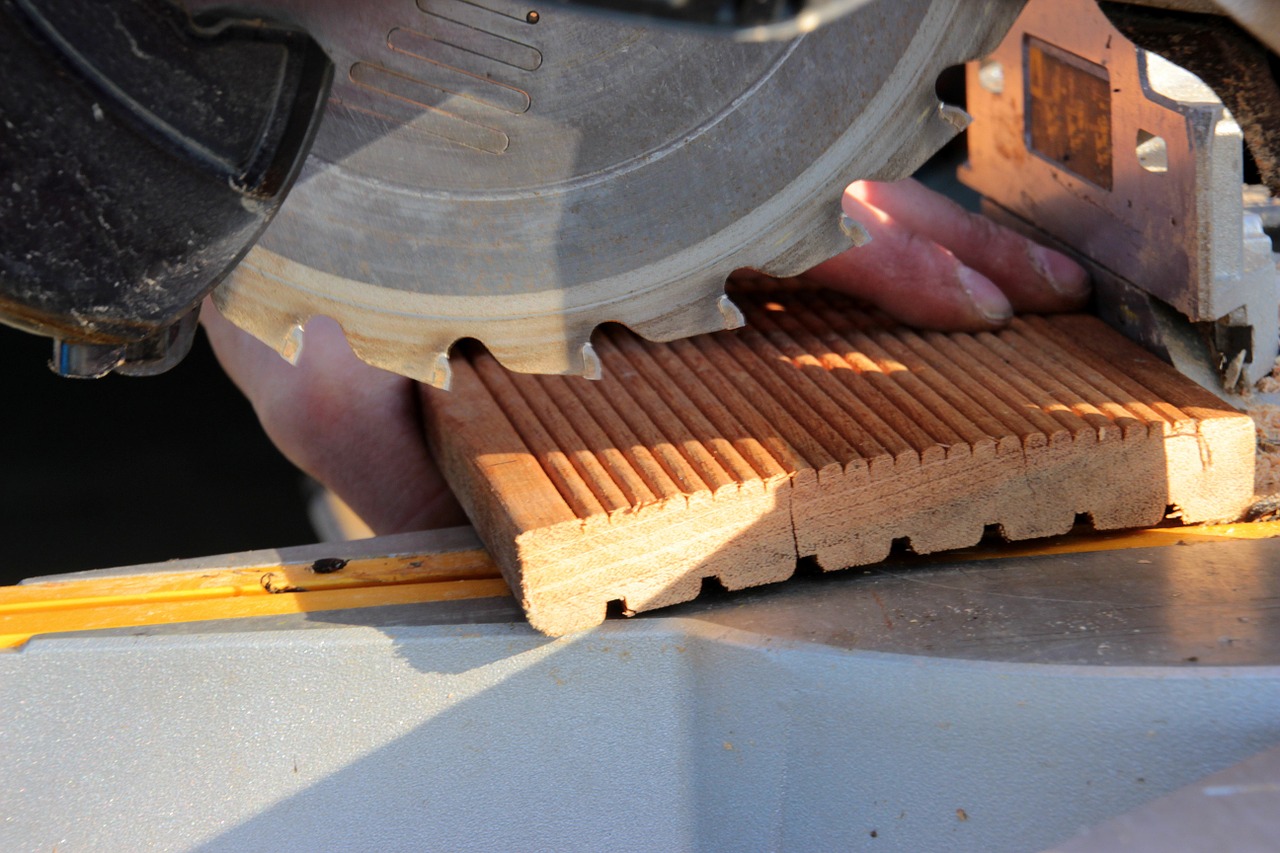
Professional contractors as well as homeowners can find endless reasons for owning a saw, whether it’s an electric model or operated by a rechargeable battery. Many different types of saws exist, but one of the most popular and versatile saws is a hand-held circular saw. Part of the value of this type of tool is that blades are interchangeable, so that a single saw may serve you well for a variety of cutting jobs. When you need to change blades, there are specific steps you must take for your own safety and to ensure that you will have many more hours of reliable service. Generally, however, learning how to change a saw blade is easy.
Reasons to Change a Blade
Blades and their teeth wear, depending on the type of materials you have been cutting. If you consistently use your saw on very dense or rough materials, you may have to replace blades more often than you would if you simply cut wood. Blades used for cutting metal or tile are common types, but specific jobs may require blades with finer teeth or blades that are thicker and sturdier. Because they are interchangeable on the same size saw, you may stock a variety of blades, so that you always have a specific fresh blade at the ready. Be certain to purchase the proper diameter blade and always store the spares properly. You will then be able to change blades as needed to perform specific tasks.
Steps to Take
- When preparing to change a blade on a circular saw, it is imperative that you unplug the saw or remove the battery. Never attempt any sort of adjustment to the saw or the blade when it’s still powered up.
- Most saws have an attached wrench, either an Allen type or a blade wrench with a hole that fits over the arbor nut. The wrench is incorporated or attached to the saw handle, or otherwise “hidden” on the saw body.
- Knowing the structure and make-up of your saw is important. Circular saws can be left-handed or right-handed, and the blade turns in one direction. When you are ready to replace the blade, you must know which direction the teeth will face. Also, circular saws have a button that activates a locking mechanism.
- Press down on that button to lock the arbor; test it to make certain the blade is stationary. Using the wrench, loosen the arbor nut. To do so, you will turn the nut in the same direction that the saw blade cuts. After retracting the saw’s blade guard, you will be able to remove the old blade.
- At this point, lay the new blade over the saw’s arbor; double check to be sure the teeth are facing the right direction. Frequently, there is an arrow on the blade or guard to help you.
- Use your blade wrench to tighten the arbor bolt just until it is snug. Don’t over-tighten it, however, as that will make it very difficult to loosen the next time.
- Some circular saws have a diamond arbor. Be sure to knock out the blade insert prior to attempting to install it. This can be accomplished by positioning the blade over a block of wood and using a hammer to gently tap out the insert.
With the new blade installed, you are ready to get back to work. Whether you store the used blade or dispose of it, do it properly.
When powering up your saw, test it briefly before using it to saw anything. But, if you’ve followed the directions, you will be able to get back to your projects quickly. Contact our team at BN Products for all of your power tool needs and questions!