
 Revised by BN Products USA™, November 2020
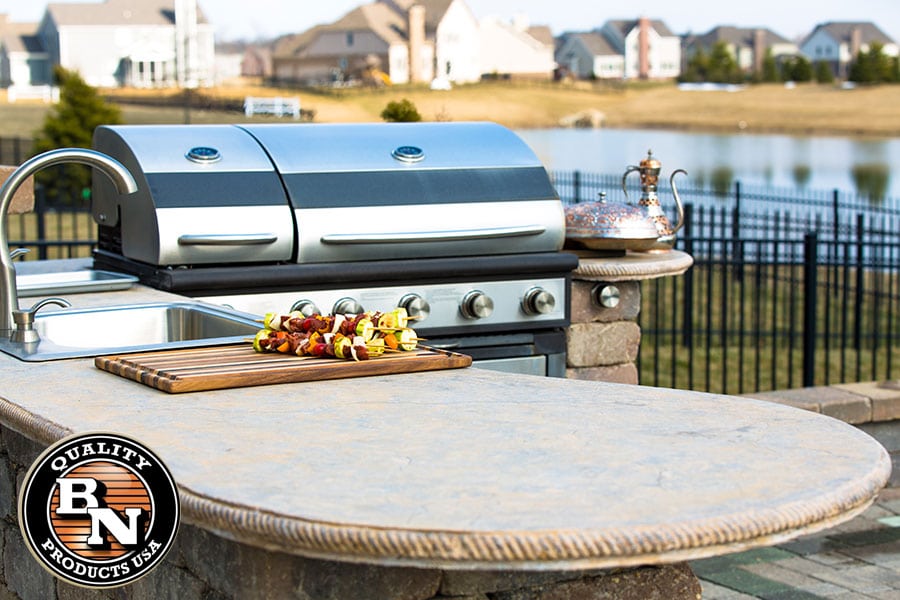
Are you tired of countertops that end up marked with black rings when you set down a hot pot? Get a tough kitchen surface smooth enough for mixing dough on by installing concrete counter tops. These cabinet toppers rely on the strength of concrete to give them longevity without the high price tag of natural marble or granite. It’s also a safe material you can mix, shape, and decorate yourself.
Making A Template
Starting with an accurate template of the counter supports is the best way to build a fitting top. Use a piece of thin plywood or strips of fiberboard to outline the edges. Don’t add your extra space for overhangs and edges yet. Focus on getting the template square so your finished counter top stays even.
Building And Sealing The Mold
While you can build a mold from plywood and lumber, it’s much easier when you use melamine. This fiberboard is coated in a plastic material that prevents the concrete from getting stuck. Lay out the template on a large sheet of the material and trace around it. You can add inches for a bull nose edge and overhanging edges at this point. Add edges cut from melamine as tall as your desired counter top height, then seal them with painter’s tape and a smoothed corner bead of caulk.
Choosing An Edge
You can add curved or shaped templates along one edge of the mold to create any edge profile. Many counter top suppliers sell these reusable edge molds. If you don’t want to order a specialty device, you can stick to simple squared edges. Curved and beveled edges are prone to gathering bubbles and cracks. Adding a special edge makes proper vibration even more important after the pouring step.
Blending The Concrete
Once you’ve cleaned the mold with acetone to get lingering traces of dirt, you can mix up your concrete. Consider using a mix designed with fiber additives for better cracking resistance. Since you’ll need to mix up 100 pounds of concrete or more for each 8-foot long section, invest in mixing paddles for cement or a handy hydro hoe. The right tools help you mix up each bath in a large bucket or wheelbarrow. If you’re redoing a large kitchen or want all your bathrooms to match throughout the home, consider renting a stand mixer to speed up the process and get more consistent results.
Fill the mold in two steps. First, pour in just enough material to reach halfway up the sides. Set down a piece of wire concrete mesh or a grid of rebar suspended on wire from screws along the edges of the mold. Pour the rest of the concrete to the top. Vibrate the entire mold with a heavy duty concrete vibrator, then smooth out the surface with a trowel. A few passes of a float puts an even top on your new counter piece.
Finishing The Surface
The finishing process only begins after the proper curing delay. After dropping the sides, cutting any support wires loose, and flipping the slab over, you can start finishing the piece. Apply any stains or other color treatments at this point. Cut any stress joints or seams you need for over sized pieces too. If there are edge or top impurities like popped bubbles, consider sanding the piece down for a smoother look. In order to keep the concrete safe enough to use as a prep and cooking surface, you should seal the concrete first. Buff on at least four or five layers of food grade beeswax over the sealant to create a buffer against any potential chemical reactions.
Installing The Slab
Your attractive new counter top needs to go on the supports now. Enlist the help of some family members and friends to lift each heavy section into place, taking care not to tilt the slab too much or pivot it on a support piece. Keep at least one hand under the middle of the piece to prevent cracking. Slowly lift and slide the slab onto the base, then anchor it with concrete screws or adhesives. You can seal the seams of adjoining sections with colored grout that matches or contrasts the color of the finished material.